Unclogging Your Plumbing Problems
Welcome to the world of home improvement! If you’re a homeowner or business owner in Odessa, DE, you know that plumbing issues can pop up when you least expect them. But don’t worry! Today, we’re diving into some practical and effective DIY plumbing fixes tailored just for you. With just a little know-how and the right approach, you can tackle your plumbing problems like a pro!
Quick Fixes for Everyday Issues
Imagine waking up to a leaky faucet or a toilet that just won’t stop running. It can feel overwhelming, but these common issues can often be fixed with simple tools and guidance. This article will share tried-and-tested tips that can help keep your plumbing system running smoothly and effectively!
Empower Yourself with DIY Skills
Being handy with plumbing fixes not only saves time, but it also gives you the confidence to handle everyday spills and leaks. You’ll be impressed at how easy it can be to troubleshoot problems in your home or business!
Ready to roll up your sleeves and tackle those plumbing hurdles head-on? Let’s get started on the essential DIY tips every Odessa homeowner and business owner should know!
Understanding Your Home’s Plumbing Basics
Before we dive headfirst into fixing those pesky plumbing problems, it’s important to arm yourself with an understanding of your home’s plumbing system. Knowing the basics can not only save you from costly repairs but also turn you into a more confident DIY-er. So, let’s break down the essential components that you’ll want to familiarize yourself with.
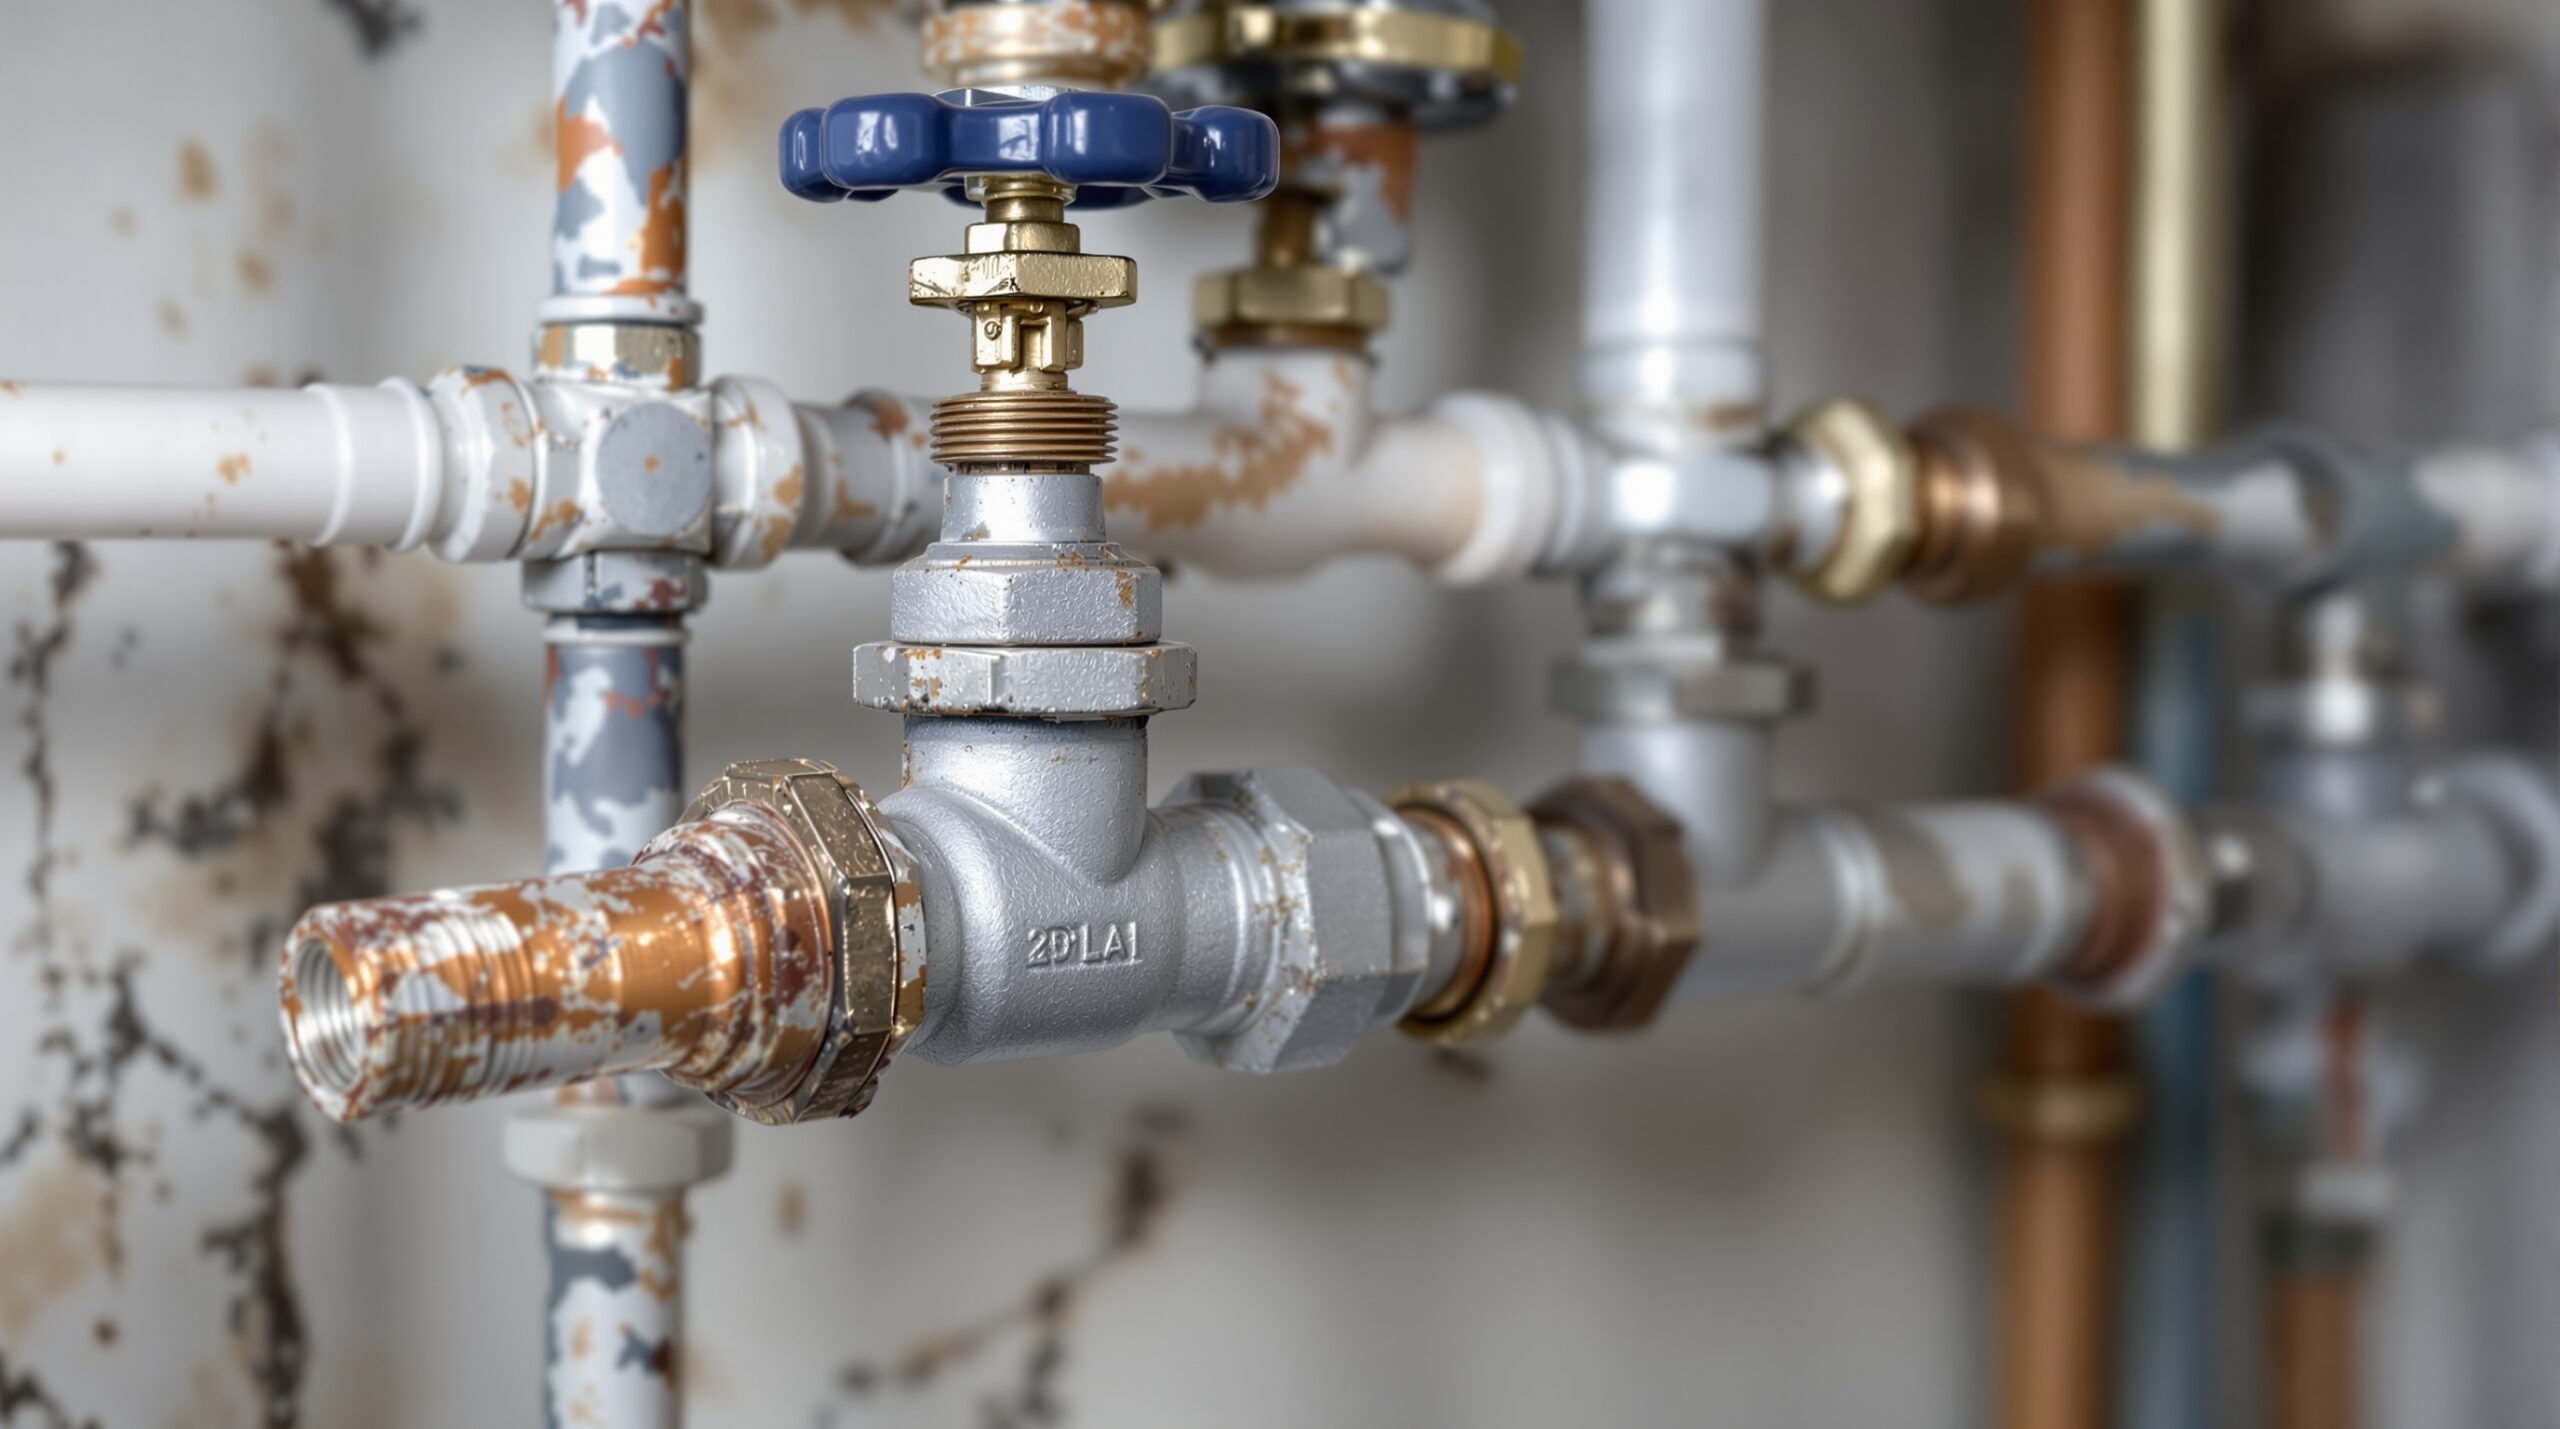
Shut-Off Valves: Your First Line of Defense
Every homeowner should know where the shut-off valves are located in their house. These valves are crucial during emergencies, allowing you to stop the flow of water to specific fixtures or your entire home. Typically, they can be found under sinks, behind toilets, and near major appliances. Familiarize yourself with how they operate—turning the valve clockwise usually shuts off the water, while counterclockwise opens it. In cases of leaks or major repairs, knowing how to swiftly shut off the water can save both your home and your peace of mind.
Drain Systems: The Path of Water Flow
The waste from your sinks, tubs, and toilets doesn’t just disappear—it flows through a complex drain system. Understanding how your drainage works is essential for troubleshooting issues like clogging. Your home’s drainage system relies on gravity to move waste, so when a drain slows down or backs up, it might signify a blockage or buildup somewhere along the line. Key elements to be aware of include:
| Component | Function |
|---|---|
| P-Trap | Prevents sewer gases from entering your home by holding a small amount of water. |
| Clean-Outs | Access points that allow you to clear clogs in the drainage system. |
| Vent Pipes | Help regulate air pressure in the drainage system, allowing wastewater to flow smoothly. |
P-Traps: An Unsung Hero
Now, let’s shine a spotlight on P-traps. Found under sinks and other fixtures, P-traps are shaped like the letter “P” and serve a critical purpose. They catch debris and block sewer gases from entering your living space by maintaining a water seal. If you notice a persistent odor coming from your sink, a dry P-trap might be the culprit. It’s a good practice to run water through your sinks regularly to keep the traps filled, maintaining that essential seal.
How to Identify Key Parts
Knowing what various plumbing components look like will help you act quickly in emergencies. You don’t need to be a plumber, but familiarizing yourself with the following parts can empower your DIY efforts:
- Shut-off Valves: Usually round or lever-type knobs, often located beneath sinks or near toilets.
- Drain Pipes: Typically made of PVC or metal, leading from sinks and toilets to your home’s main drain.
- Water Heater: A unit usually found in a basement or utility room, providing hot water to your home.
By understanding these basic components of your plumbing system, you’ll feel more equipped to address issues as they arise. In the world of home maintenance, knowledge is power. So, take a little time to explore, and soon you’ll confidently navigate your plumbing challenges, making you feel like the DIY hero of your own home!
Fixing Leaky Faucets: Tackling Those Persistent Drips
We’ve all experienced the annoyance of a leaky faucet, that persistent drip-drip-drip disrupting the peace of our homes. Yet, this common household nuisance is not just an irritation; it’s also a signal that action is needed. Fortunately, fixing leaky faucets is a straightforward task that can empower you as a DIY-er. With a little bit of know-how and patience, you can learn to disassemble components and replace parts efficiently, bringing newfound tranquility to your kitchen or bathroom.
Identifying the Type of Faucet
Before diving into the repair process, it’s essential to identify what type of faucet you’re dealing with: compression, cartridge, ball, or ceramic disc. Each type has its individual components and methods for repair, so understanding your faucet’s mechanics will simplify your repair journey:
- Compression Faucets: These have separate hot and cold handles and rely on rubber washers to stop the flow of water.
- Cartridge Faucets: Known for their ease of use and single or double-handles, these have a cartridge that controls the flow and temperature.
- Ball Faucets: Common in kitchen sinks, they utilize a rotating ball mechanism to manage temperature and water flow.
- Ceramic Disc Faucets: These modern fixtures consist of a pair of ceramic plates that regulate flow and are noted for their durability.
Gather Your Tools
Once you’ve identified your faucet, assemble the necessary tools. You’ll typically need:
- A flat-head screwdriver
- A Phillips screwdriver
- A wrench or pliers
- A replacement parts kit (washers, O-rings, cartridges, etc.)
- A towel or basin to catch any remaining water
Step-by-Step Guide: Disassemble and Reassemble
With your tools ready, it’s time to begin the disassembly process. Follow these steps for an efficient repair:
- Turn Off the Water Supply: Before anything else, locate the shut-off valves under the sink and turn them clockwise to stop the flow of water. If there are no valves, turn off the main water supply to your home.
- Open the Faucet: This relieves any remaining pressure and allows you to drain the faucet completely.
- Disassemble the Faucet: Depending on the type, remove decorative caps, unscrew handles, and carefully lift components out. Pay attention to how each piece fits together for easy reassembly.
- Inspect the Parts: Check washer, O-ring, or cartridge integrity. Look for cracks, corrosion, or wear. If the parts appear damaged, it’s time to replace them.
- Replace Washers or Cartridges: If using washers, simply pull out the old ones and insert new replacements. For cartridge faucets, you’ll need to pull the old cartridge out and slide in the new one, ensuring both sit snugly in place.
Reassemble and Test
With new parts in place, carefully reassemble the faucet in the reverse order of disassembly. Ensure everything is tightened appropriately but avoid overtightening, which can lead to damage. Once reassembled, turn the shut-off valves back on and check for leaks. Allow the faucet to run for a moment to clear any air and ensure the water flows freely.
Maintenance Tips
Congratulations! You’ve successfully tackled your leaky faucet. To keep your plumbing in top shape, implement these simple maintenance tips:
- Check faucet parts regularly for signs of wear and tear.
- Clean aerators by unscrewing them from the faucet and rinsing.
- Be mindful of water pressure; high pressure can wear out components more quickly.
With a little practice and these handy guidelines, you’ll not only eliminate the annoying drip from your faucet but also bolster your DIY skills. Remember, tackling plumbing issues doesn’t require a plumbing degree—just a willingness to learn and a steady hand!
Clearing Clogged Drains: Mastering the Essentials
No one enjoys a slow-draining sink or a shower that feels more like a pond than a refreshment station. Clogged drains are a common household issue, often signalizing an underlying problem that requires immediate attention. Fortunately, addressing these clogs doesn’t have to be a daunting task. By recognizing the signs of blocked drains and mastering essential techniques—like using plungers and homemade solutions—you can reclaim the smooth flow of water in your home efficiently.
Recognizing the Signs of Blocked Drains
Awareness is the first step toward resolving any plumbing issue. Here are some telltale signs that your drains may be clogged:
- Slow Draining: Water pooling in sinks, tubs, or showers is often a clear indicator of a blockage somewhere in the pipeline.
- Unpleasant Odors: Foul scents emanating from drains can arise when stagnant water causes bacteria to grow or food remnants decay.
- Gurgling Noises: If you hear strange sounds while water is draining, it could suggest air trapped in the pipes due to a blockage.
- Frequent Backups: If you notice that your toilet or sink frequently backs up, a clog deeper in your plumbing may be at fault.
Using a Plunger: The Classic Method
When it comes to clogged drains, a plunger is an essential tool. With proper technique, you can often resolve minor clogs in just a few minutes. Here’s how to use a plunger effectively:
- Select the Right Plunger: Ensure you’re using a cup plunger (with a flat rubber end) for sinks and toilets, and a flange plunger (with an extended rubber flap) specifically for toilets.
- Prepare the Area: Remove any standing water if possible, and place a towel around the base of your fixture to catch any overflow.
- Position the Plunger: Firmly place the plunger over the drain, ensuring it creates a seal. In the case of toilets, make sure the flange is positioned correctly to prevent air leaks.
- Push and Pull: Using both strength and rhythm, plunge vigorously without losing the seal. Pump up and down for about 15 seconds.
- Check for Improvement: Lift the plunger to see if water drains. If not, repeat the process a couple of times before considering other methods.
Homemade Solutions: Natural Drain Cleaners
Sometimes, stubborn clogs may require more than just a trusty plunger. Luckily, you can often turn to natural drain cleaners that are gentle on your plumbing yet effective at dissolving problematic buildup:
- Baking Soda and Vinegar: Pour 1/2 cup of baking soda down the drain followed by 1 cup of vinegar. Allow the mixture to fizz for 30 minutes, then flush with hot water.
- Salt and Baking Soda: Combine 1/2 cup of salt and 1/2 cup of baking soda, then pour it down the drain. After about 30 minutes, flush with boiling water to help break down any clogs.
- Hot Water Flush: Sometimes, simply boiling water and pouring it down the drain can dissolve soap scum and grease clogs effectively—be cautious not to use boiling water on PVC pipes.
When to Call in the Professionals
While DIY methods can handle many blockages, some situations call for a professional plumber. Consider contacting an expert if:
- The clog persists despite multiple attempts to clear it.
- You experience recurring clogs in different areas of your home.
- There are multiple plumbing issues occurring simultaneously.
Having the knowledge to identify the signs of clogged drains and the skills to use plungers and homemade solutions equips you for effective home maintenance. Keeping your drains clear not only enhances your plumbing’s efficiency but also prevents more costly problems down the line. With these tools in your belt, you’ll be well on your way to mastering the art of drain maintenance!
Toilet Troubleshooting: Tackling Common Issues with Confidence
Just when you think you’ve mastered your home plumbing, toilet troubles can come knocking—often at the most inconvenient times. From a relentless running toilet to low flush pressure, these annoyances can disrupt the harmony of your home. But fear not! With a bit of knowledge and some handy troubleshooting tips, you can diagnose and resolve these common toilet issues without calling in a professional. Get ready to roll up your sleeves and tackle these problems head-on!
Identifying Common Toilet Issues
Before you can fix a toilet, it’s imperative to recognize the signs that something isn’t right. Here are a few prevalent toilet troubles and their indicators:
- Running Toilet: If water continuously flows into the bowl even after the toilet has been flushed, it can signal a faulty flapper or an improperly set float.
- Low Flush Pressure: Insufficient power in the flush can suggest a blocked rim jet or issues within the tank components that need adjustment.
- Phantom Flushing: This scary phenomenon occurs when you hear the toilet tank refill without being flushed—a sign that your flapper is leaking.
- Flush Handle Issues: If the handle sticks or requires excessive force, it could mean misalignment or wear in the tank mechanism.
Adjusting Floats and Fixing Flappers
When it comes to toilets, many issues can be resolved with a bit of tweaking. Follow these simple steps to adjust floats and replace faulty flappers:
Adjusting the Float
Toilets typically function with either a ball float or a cylinder float. Here’s how to make adjustments:
- Identify the Type of Float: Inspect your toilet tank to see which type you’re working with.
- Adjust a Ball Float: Locate the arm connected to the ball. Gently bend it downward to lower the water level, or raise it by bending the arm upward. Aim for a water level between 1/2 inch to 1 inch below the top of the overflow tube.
- Adjust a Cylinder Float: If your toilet has a cylinder float, look for a clip on the float arm. Pinch the clip and slide it up or down to modify the height. Repeat the water level test afterward.
Replacing the Flapper
A faulty flapper could be the main culprit of a running toilet. Here’s how to replace it:
- Turn Off the Water Supply: Locate the shut-off valve behind the toilet and twist it clockwise to stop the flow of water.
- Remove the Tank Lid: Carefully take off the tank lid and set it aside in a safe place.
- Disconnect the Flapper: Undo the chain from the flush lever and unhook the flapper from the pegs at the bottom of the tank.
- Install the New Flapper: Position the replacement flapper on the pegs, reattach the chain to the flush lever, and ensure it has just a bit of slack to function properly.
- Turn the Water Supply Back On: Open the shut-off valve and check for leaks around the flapper and ensure a proper seal.
Common Toilet Troubleshooting Table
| Issue | Common Causes | Quick Fix |
|---|---|---|
| Running Toilet | Faulty flapper; high float level | Adjust float; replace flapper |
| Low Flush Pressure | Clogged rim jets; issues with tank components | Clean rim jets; inspect tank parts |
| Phantom Flushing | Leaky flapper | Replace flapper |
| Sticking Flush Handle | Misalignment or worn-out mechanism | Adjust handle mounting; replace mechanism |
By familiarizing yourself with these basic troubleshooting techniques, you can address common toilet problems efficiently, maintaining a smoothly functioning bathroom. Understanding your toilet’s mechanics not only empowers you to take charge of minor issues but also prepares you for a deeper dive into preventative maintenance strategies, which we will explore next.
Preventative Maintenance Tips: Discover How Regular Inspections and Minor Tweaks Keep Plumbing Systems in Top Shape
As a homeowner, ensuring your plumbing system operates effectively involves more than reactive repairs—it’s about taking proactive steps to minimize disruptions and extend the lifespan of your fixtures. Regular inspections and minor adjustments can prevent a plethora of plumbing headaches down the line. Let’s delve into practical tips for monthly checks and seasonal maintenance routines that will keep your plumbing in peak condition.
Monthly Inspection Checklist
Establishing a habit of monthly checks not only helps you spot issues before they escalate but also instills a sense of control over your home’s plumbing systems. Here’s a handy checklist you can follow:
- Check for Leaks: Look under sinks and around fixtures for signs of water pooling or dampness. Even small leaks can lead to bigger problems if left unchecked.
- Examine Water Pressure: Ensure that the water pressure in your home is consistent. Sputtering faucets or slow drainage may indicate blockages or plumbing issues that require attention.
- Inspect Hose Connections: For washing machines and dishwashers, check hose connections for wear and tear. Tighten any loose connections to prevent future leaks.
- Flush Out Fixtures: Once a month, run water through all faucets and flush toilets to clear out any sediment buildup that could affect flow.
- Check Water Heater: Inspect your water heater for any signs of leaks or rust, and ensure the temperature is set to a safe level (typically around 120°F).
Seasonal Maintenance Routines
In addition to monthly inspections, seasonal maintenance check-ups are essential for preparing your plumbing system for changes in temperature and usage. Here’s how to prioritize plumbing care throughout the year:
Fall Maintenance
As temperatures begin to drop, focus on preventing frozen pipes:
- Drain Outdoor Faucets: Disconnect hoses and drain outdoor spigots before the first freeze.
- Insulate Pipes: Wrap exposed pipes in insulation or electrical heat tape to protect against freezing.
Winter Maintenance
In the winter months, be vigilant about your home’s plumbing:
- Run Faucets Periodically: Allow faucets to drip during extreme cold spells to prevent freezing.
- Monitor Heating Systems: Ensure your home heating system is working efficiently, as it can affect the temperature of your plumbing.
Spring Maintenance
After the winter thaw, it’s time to get your plumbing in shape:
- Check for Cracks: Inspect foundations and walls for cracks that might have developed due to frost heaves.
- Test Sump Pumps: Ensure your sump pump is functioning correctly to handle spring melt and rain.
Summer Maintenance
As you prepare for the hot summer months, these checks can save you from a meltdown:
- Inspect Water Bills: An unexpected spike might indicate a leak somewhere in the system.
- Check Sprinkler Systems: Ensure that outdoor watering systems are functioning properly for summer landscaping needs.
By applying these practical DIY plumbing tips, Odessa, DE homeowners can maintain smooth-running systems and confidently address typical household plumbing dilemmas. Regular upkeep is not just about avoiding emergencies; it’s also about enhancing the overall efficiency and longevity of your plumbing fixtures. Happy fixing!
In a thriving community like Odessa, DE, it’s important to remember that even the most diligent homeowners may eventually encounter a plumbing issue that surpasses their knowledge or capacity for resolution. Murphy’s Law in plumbing states that issues arise at the most inconvenient of times, which is why DIY skills can only take you so far. So, what should you do if disaster strikes and the situation escalates beyond a simple fix?
First and foremost, when you find yourself facing a plumbing catastrophe—be it a gushing pipe, a malfunctioning water heater, or a backed-up sewer—it’s crucial to resist the temptation to go it alone. Instead, your best recourse is to call in a professional plumber. These skilled experts possess the training and equipment to navigate complex problems safely and efficiently. With their specialized insights, they can diagnose issues accurately and implement solutions that your DIY toolbox might not cover. This decision can ultimately save you time and prevent further damage to your home.
Once you’ve identified and addressed the immediate need to contact a professional, it’s time to consider the bigger picture of ongoing plumbing maintenance. Regular upkeep can significantly mitigate the likelihood of encountering such major plumbing issues in the first place. As we’ve highlighted in the previous sections, monthly inspections and seasonal routines are pivotal to maintaining a robust plumbing system.
Every homeowner should also familiarize themselves with the signs that indicate it might be time to reach out for professional help. Are you noticing an unusual increase in water bills without any apparent cause? Have you detected persistent low water pressure or discolored water emerging from your faucets? These could be red flags that require expert intervention. By being proactive and staying attuned to your plumbing system, you not only enhance its longevity but also ensure that you maintain a safe and comfortable living environment.
When placing that call to a professional, be as detailed as possible about the symptoms and any attempts you’ve already made to remedy the situation. This information helps them understand the problem and prepare accordingly, leading to a more effective and streamlined service experience. Remember, investing in professional help now can save you from far more extensive challenges later, letting you enjoy the comfort of home without the nagging worry of plumbing pitfalls.
Ultimately, caring for your plumbing system is akin to nurturing a relationship. It requires attention and regular check-ins to weather the storms. With routine maintenance checks and the foresight to enlist professional help when necessary, Odessa homeowners can elevate their plumbing resilience. So, keep that toolbox handy, perform those inspections, and don’t hesitate to call in a pro when the situation calls for it. Happy fixing and here’s to a smoothly running plumbing system!
Taking the time to engage in regular plumbing maintenance might seem daunting, but the benefits of consistent practice are enormous. For Odessa, DE homeowners, building a strong understanding of your plumbing system empowers you to tackle issues head-on, ensuring you maintain a clean and efficient setup throughout the year. Imagine confidently resolving a small leak from under the sink or easily addressing slow-draining showers—this is the kind of peace of mind that knowledge and preparation can offer!
Moreover, establishing practical habits can lead to a sense of accomplishment and pride in homeownership. When you handle plumbing tasks with ease, not only do you save time, but you also foster a stronger connection with your living space. Engaging in household projects, even minor ones, can transform chores into rewarding experiences. Think of it as nurturing your home’s plumbing health; you’re not just fixing problems—you are actively participating in the maintenance of a vital component of your home.
Empower Yourself to Troubleshoot
Aside from your routine maintenance tasks, being equipped with a few troubleshooting strategies can be invaluable. Knowing how to address typical plumbing concerns prepares you for quick responses when the need arises:
- Clogged Drains: For minor clogs, consider using a plunger or a mix of baking soda and vinegar to break down debris. Avoid harsh chemicals, as they can damage pipes over time.
- Running Toilets: A running toilet can often be remedied by checking the flapper valve for wear or adjusting the float to ensure it seals properly.
- Slow Draining Sinks: If your sink is draining slowly, a simple solution is to clear out the trap under the sink, as hair and grease can build up over time.
By understanding these common fixes, you’ll not only save time but also reinforce your confidence in managing home repairs. Immediate solutions can prevent small inconveniences from transforming into larger issues, effectively keeping your plumbing in prime condition.
Know When to Call in the Experts
While many plumbing hurdles can be tackled with a bit of effort and DIY spirit, knowing when to bring in a professional is crucial. Complex issues like sewage backups, major leaks, or deteriorating pipe systems are best handled by licensed plumbers. Don’t hesitate to reach out for support when faced with a plumbing challenge beyond your comfort zone. It’s equally important to recognize your limitations—after all, maintaining your home’s plumbing health includes knowing when to seek professional advice.
In conclusion, maintaining a smoothly operating plumbing system doesn’t have to feel overwhelming. By incorporating these practical DIY plumbing tips into your regular home maintenance routine, you’ll ensure that your Odessa, DE household runs efficiently and harmoniously. Take pride in mastering your plumbing system, and remember that with just a few simple checks and a little bit of effort, you can confidently navigate the typical household plumbing dilemmas that arise. Happy fixing!