
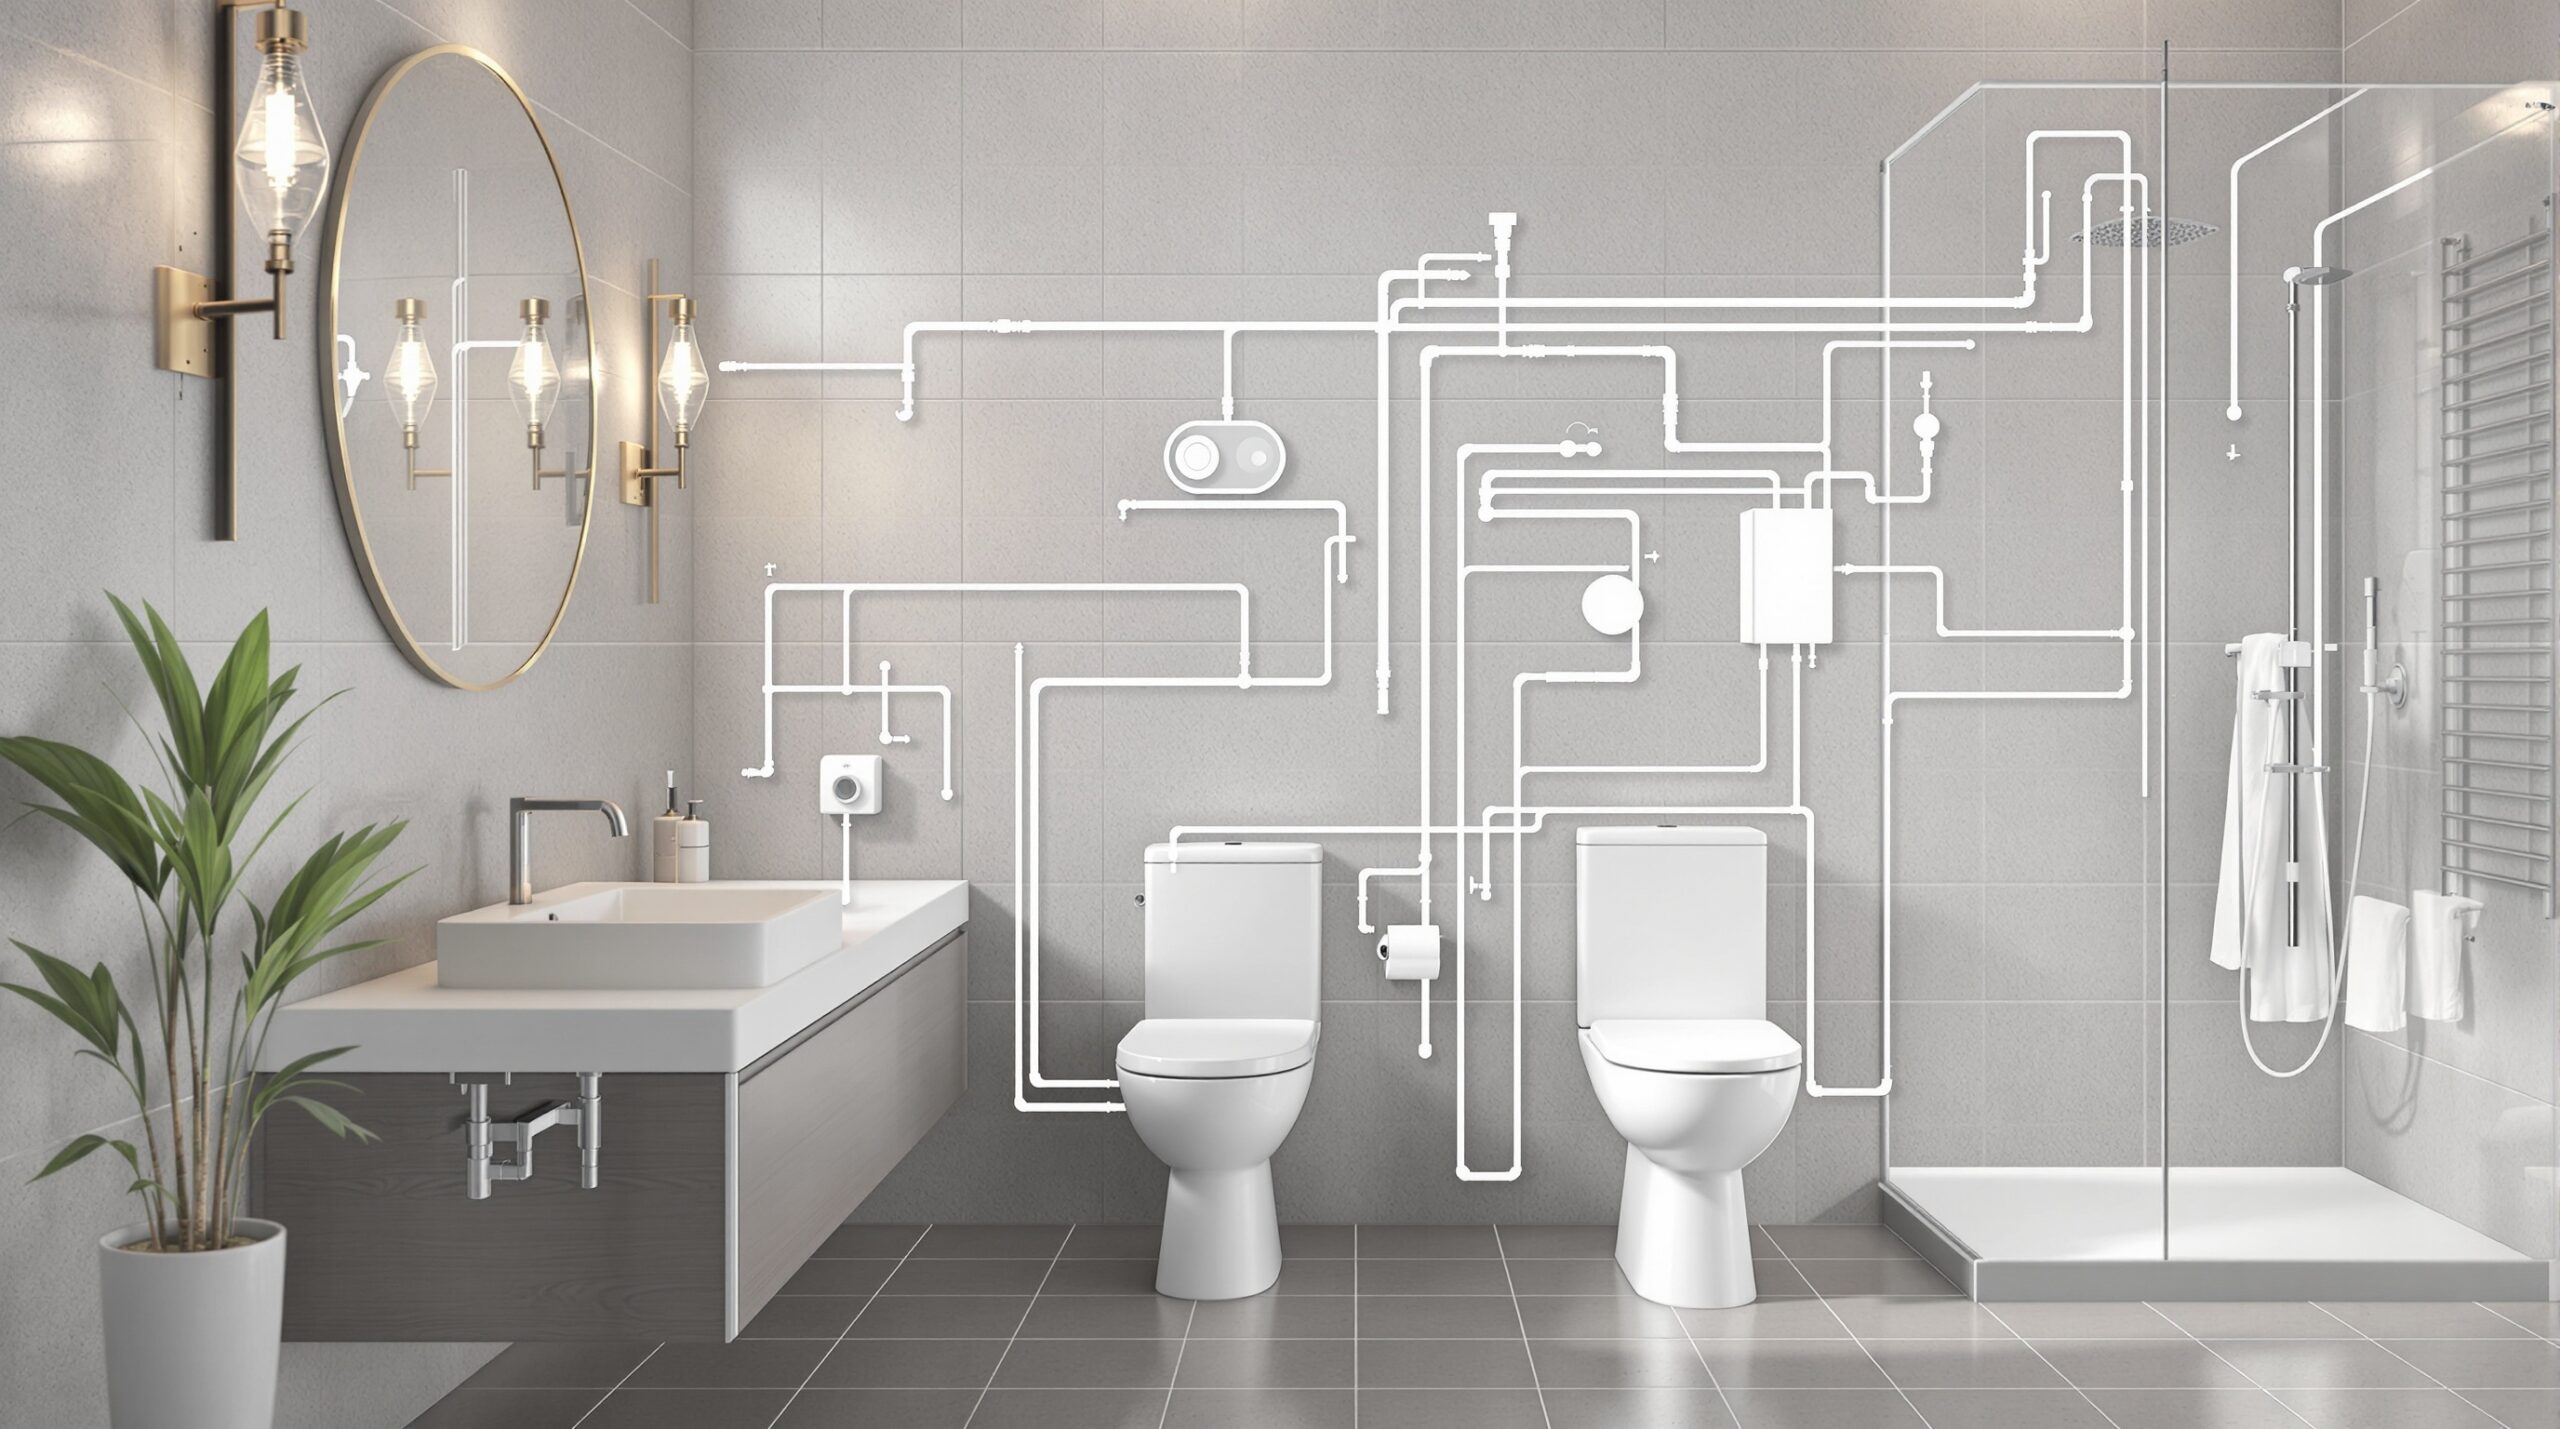
Welcome to Your DIY Plumbing Adventure!
If you’re a homeowner in Blackbird, DE, you might sometimes feel like you’re swimming against the tide when it comes to unexpected plumbing problems. But fear not! You’re not alone in this journey. Whether you’re dealing with a stubborn faucet drip, a stubborn toilet, or a mysterious leak under your sink, you’re in the right place. This is your ultimate guide to tackling those pesky plumbing issues all within the comfort of your home.
Empowering You to Fix It Yourself
Imagine this: You stroll into your bathroom, and instead of panicking at the sight of a leaky pipe or a clogged sink, you confidently roll up your sleeves and grab the tools needed for the job! Sounds empowering, doesn’t it? That’s exactly what we aim to help you achieve with this guide. Whether you’re a seasoned DIY enthusiast or taking your first steps into the world of home repairs, we’ve got practical, friendly solutions just for you.
Common Problems, Practical Solutions
From minor inconveniences to major headaches, household plumbing issues can pop up when you least expect them. But don’t worry! This article will arm you with tips and tricks that are easy to follow and understand. Let’s dive into the common plumbing problems you might face and how you can tackle them like the DIY superstar you are. Ready to roll your sleeves up? Let’s get started!
Understanding Your Home’s Plumbing System
Before diving into common plumbing issues, it’s vital to familiarize yourself with the essential components of your home’s plumbing system. Understanding these key elements not only empowers you to tackle problems as they arise but also enables you to maintain your system effectively, preventing minor issues from ballooning into major headaches.
The Backbone of Your Plumbing: Key Components
Your home’s plumbing system is a complex network designed to deliver fresh water for your daily needs and dispose of wastewater efficiently. Let’s break down the key components that make this system tick:
| Component | Function | Importance of Maintenance |
|---|---|---|
| Water Supply Lines | Transport clean water from the main supply to faucets, showers, and appliances. | Regular checks for leaks or signs of corrosion help prevent water damage and ensure a consistent supply of water. |
| Drains and Waste Lines | Carry wastewater away from your home to the sewage system. | Cleaning drains regularly avoids clogs and backups, which can cause unpleasant odors and health hazards. |
| Faucets and Fixtures | Control the flow of water for various uses throughout your home. | Inspecting these components for leaks or wear ensures efficiency and can save on water waste. |
| Water Heater | Provides hot water for bathing, cooking, and cleaning. | Flush the unit periodically to reduce sediment buildup, which can prolong its lifespan and efficiency. |
| Trap and Vent Pipes | Traps prevent sewer gases from entering the home; vent pipes allow air into the plumbing system for proper drainage. | Checking for blockages in vent pipes and ensuring traps are working keeps your system well-ventilated and odor-free. |
Why Maintenance Matters
Understanding these components is just the beginning. Regular maintenance plays a crucial role in the longevity and functionality of your plumbing system. Neglecting small issues can lead to costly repairs down the line, and routine checks can help you catch problems before they escalate. Here are a few tips to keep your plumbing in top shape:
- Inspect Regularly: Conduct monthly checks for any visible leaks or drips in your plumbing fixtures.
- Know Your System: Familiarize yourself with the layout of your plumbing, including shut-off valves and main supply lines.
- Use Safe Products: Opt for non-corrosive drain cleaners to avoid damaging pipes.
- Document Repairs: Keep a homeowner’s journal to track issues and repairs, which can be handy if you experience recurring problems.
By embracing this proactive approach, you’ll not only become familiar with your plumbing system but also develop the confidence to address issues as they arise. Now that you have a solid understanding of your home’s plumbing network, it’s time to dive deeper into common plumbing issues faced by homeowners in Blackbird, DE.
Common Plumbing Issues in Blackbird, DE Homes
As a homeowner in Blackbird, Delaware, you may find yourself facing a few plumbing challenges that are all too common in the area. While the picturesque landscapes and charm of the community make it an ideal place to live, the local climate and infrastructure can contribute to specific plumbing issues. Familiarizing yourself with these common problems can help you stay one step ahead, ensuring that minor plumbing concerns don’t disrupt your daily life.
1. Clogged Drains
In Blackbird, the combination of tree roots invading underground pipes and seasonal debris can lead to frequent clogging. Homeowners often experience slow drains or complete blockages, particularly in kitchens and bathrooms. The roots of trees can infiltrate sewer lines, creating a tangle of obstructions that push water back instead of allowing it to flow freely.
2. Low Water Pressure
Experiencing a lack of water pressure can be frustrating when trying to rinse off after a long day. In Blackbird, this issue is often a result of old, corroded pipes or mineral buildup from the local water supply. If certain faucets or showerheads are noticeably weaker than others, it could indicate an underlying problem with your plumbing system.
3. Leaky Faucets and Fixtures
Leaky faucets are not only annoying but also indicative of wear and tear on the fixtures. In Blackbird’s homes, the hard water prevalent in many areas can contribute to mineral buildup, causing seals to degrade and pipes to corrode over time. This leads to constant dripping or leaking, which can waste water and indicate a need for plumbing repairs.
4. Running Toilets
A running toilet is a common yet overlooked issue that many Blackbird residents face. This problem is typically caused by a faulty flapper or a misaligned float, leading to water continuously cycling into the bowl. Beyond the annoying sound of a running toilet, it can lead to an increase in water usage—a concern for any environmentally conscious homeowner.
5. Water Heater Problems
Water heaters in Blackbird homes can encounter various issues, particularly during the colder months when demand increases. From fluctuating temperatures to complete failures, problems can arise from sediment buildup or corrosion within the unit. Seasonal changes can further exacerbate these issues, leaving you without hot water when you need it most.
6. Frozen Pipes
During the harsh winter months, freezing temperatures can lead to the dreaded frozen pipes, especially in uninsulated areas of your home. This is particularly a concern in older homes in Blackbird. When water freezes, it expands and can cause pipes to rupture, leading to expensive repairs and potential water damage.
7. Sewer Line Issues
Sewer line problems can be particularly serious and costly for homeowners. In Blackbird, these issues might stem from tree root infiltration, cracked pipes, or accumulated waste. Signs of sewer line trouble include multiple clogged drains, foul odors, and water pooling in your yard. Addressing these issues promptly can save you from significant headaches in the long run.
With a keen understanding of these common plumbing issues faced by Blackbird homeowners, you’ll be equipped to recognize problems early and take steps towards solutions. In the next section, we’ll explore DIY solutions for one of the most common issues: leaky faucets, providing you with a hands-on approach to keeping your plumbing in prime condition.
DIY Solutions for Leaky Faucets
If you’ve noticed a steady drip, drip, drip coming from your kitchen or bathroom faucet, you’re not alone. Leaky faucets are one of the most common plumbing headaches, but thankfully, many homeowners can tackle this issue with a few basic tools and a bit of patience. Follow these step-by-step instructions to fix that pesky leak and restore peace to your home.
Step 1: Gather Your Tools
Before you dive into repairs, make sure you have the following tools handy:
- Adjustable wrench
- Screwdriver (flathead and Phillips)
- Pliers
- Replacement parts (washers, O-rings, or cartridges depending on your faucet type)
- Clean cloth or rag
Step 2: Shut Off the Water Supply
Locate the shut-off valves under your sink. Turn them clockwise to shut off the water supply to the faucet. If you can’t find these valves, you may need to turn off the main water supply for your home. It’s wise to open the faucet to let any remaining water drain out.
Step 3: Plug the Drain
Use a clean cloth or a drain plug to cover the sink’s drain. This prevents any small parts from accidentally falling in as you work, saving time and potential headaches later on.
Step 4: Disassemble the Faucet
Depending on the type of faucet you have—compression, cartridge, ball, or disk—the disassembly process may vary slightly. Generally, you’ll need to:
- Remove the decorative cap (if applicable) to access the screws.
- Unscrew the handle and carefully lift it off.
- Use your adjustable wrench to loosen the packing nut and remove it.
Step 5: Inspect the Parts
Examine the faucet parts carefully. Look for wear and tear on rubber washers, O-rings, or cartridges. These components often wear out causing leaks. If you notice any damage, it’s time to replace them. Bring the old parts to your local hardware store to find the correct replacements.
Step 6: Replace Damaged Components
Install the new washers, O-rings, or cartridges as necessary. Be sure to follow the same order that you removed the old parts, ensuring everything fits snugly into place.
Step 7: Reassemble the Faucet
Once you’ve replaced the damaged parts, reassemble the faucet by reversing the disassembly steps:
- Reattach the packing nut and tighten it gently with your adjustable wrench.
- Place the faucet handle back on and secure it with screws.
- If there is a decorative cap, put that back as well.
Step 8: Turn the Water Supply Back On
With everything back in place, it’s time to restore the water supply. If you turned off the main valve, turn it back on. Then, slowly open the shut-off valves under your sink. Turn the faucet on and check for leaks. If the faucet drips, recheck the assembly to ensure everything is properly sealed.
Step 9: Clean Up
Wipe down any excess water and replace any items you cleared from the countertop for the repair. Congratulations! You’ve just repaired your leaky faucet.
By following these straightforward steps, you not only save yourself from the annoyance of dripping water but also contribute to water conservation. Armed with DIY skills, a little knowledge, and a can-do attitude, homeowners in Blackbird can tackle most leaky faucet situations and take pride in their efforts. Next up, we’ll dive into how to efficiently unclog drains using simple household items and effective techniques.
Unclogging Drains Efficiently: Tips and Tricks for Clearing Clogged Drains Using Household Items and Effective Techniques
We’ve all been there: the water in the sink starts to pool, the shower stalls and refuses to drain, or the toilet gurgles ominously. Clogged drains can be a significant inconvenience, but before you reach for harsh chemicals or call a plumber, consider first trying some effective DIY methods using common household items. Not only are these solutions eco-friendly, but they can also save you time and effort!
Understanding the Cause of Clogs
Before you start diagnosing your drain issues, it’s essential to understand the common culprits behind clogs:
- Hair: Particularly in bathroom sinks and showers, hair can become entwined with soap scum and create stubborn blockages.
- Food Waste: In kitchen sinks, leftover food particles can accumulate, especially if not disposed of correctly.
- Grease: Pouring fats down the drain can lead to build-up that solidifies over time, creating an unyielding blockage.
- Mineral Deposits: Hard water can leave mineral residue in pipes, which may combine with other debris to form clogs.
Household Solutions for Unclogged Drains
Here are some proven methods to help you tackle stubborn clogs using items you likely already have at home:
1. Boiling Water
Sometimes, the simplest method is the most effective. Pouring boiling water down your drains can dissolve minor clogs, especially those caused by grease or soap buildup. Follow this method in a few simple steps:
- Boil a pot of water.
- Carefully pour the boiling water down the drain in stages, allowing it to work for a few seconds before adding more.
2. Baking Soda and Vinegar
This classic duo can provide a chemical reaction that helps break down clogs:
- Pour 1/2 cup of baking soda down the drain.
- Follow with 1/2 cup of white vinegar.
- Cover the drain with a cloth or plug for 30 minutes to allow the fizzing action to work on the blockage.
- Rinse with hot water to clear any remnants.
3. Salt and Baking Soda
For more persistent clogs, combine salt and baking soda:
- Mix 1/2 cup of baking soda with 1/4 cup of salt.
- Pour the mixture down the drain and let it sit for at least 30 minutes.
- After the wait, flush the drain with boiling water.
Preventative Maintenance Tips
Once you’ve successfully unclogged your drains, consider implementing these preventative measures to keep them flowing freely:
| Prevention Method | Description |
|---|---|
| Use a Drain Strainer | Install strainers in kitchen sinks and showers to catch hair and food particles. |
| Regular Cleaning | Monthly treatment with baking soda and vinegar can help dislodge minor clogs before they grow. |
| Proper Disposal | Avoid pouring grease, food, and non-degradable items down the drain. |
| Warm Water Flushes | Occasional flushing with warm (not boiling!) water can help prevent residue buildup. |
With these efficient techniques and preventative measures, you’ll be better equipped to handle clogged drains when they arise. Remember, while DIY methods can be highly effective, always keep an eye on your plumbing’s overall health. If problems persist, it may be time to call a professional plumber for a thorough inspection. With a little knowledge and attention, you can maintain your plumbing system in prime condition!
In our next section, we’ll discuss maintaining optimal water pressure throughout your home, ensuring that you can enjoy a consistent and satisfying water flow in all your taps and appliances.
Maintaining Optimal Water Pressure: Strategies for Ensuring Consistent Water Pressure Throughout Your Home
Imagine stepping into your shower, anticipating the refreshing cascade of water, only to be met with a disappointing trickle. Optimal water pressure is essential for a comfortable living experience, affecting not just showers and faucets, but your entire household’s water-using appliances. Improving and maintaining consistent water pressure can elevate your daily activities, making tasks like washing dishes or watering plants more efficient and enjoyable. Here are several strategies to help you achieve just that!
Understanding Water Pressure
Water pressure refers to the force at which water travels through your plumbing system. Too high or too low pressure can be problematic—excessively high pressure can lead to leaks and damage to pipes, while low pressure can frustrate your daily routines. Typically, an optimal water pressure ranges from 40 to 60 psi (pounds per square inch). Regular checks can help identify and rectify any discrepancies.
Strategies for Achieving Optimal Water Pressure
1. Regular Maintenance of Your Plumbing System
Just as you would a vehicle, your plumbing system needs regular checks to ensure it runs smoothly. Inspect visible pipes for any signs of leaks or corrosion, which can significantly affect water pressure. Periodically cleaning faucets and showerheads can also help, as mineral buildup can impede water flow. Consider soaking these fixtures in vinegar to dissolve stubborn deposits.
2. Check for Leaks
Leaky pipes can drain your water pressure in a hurry. Conduct a simple leak check by turning off all water sources in your home and noting whether your water meter continues to run. If it does, you may have a leak that needs attention. Promptly addressing leaks can restore lost pressure and prevent unnecessary water waste.
3. Optimize Your Valves
Sometimes, the secret to great water pressure lies within your plumbing fixtures and valves. Check your main water valve and make sure it’s fully open. If you’ve had any recent renovations or changes to your plumbing, additional valves may have been installed that could inadvertently restrict water flow. Ensuring all valves are open and in good condition can help achieve consistent pressure throughout your home.
4. Consider a Pressure Regulator
If your home experiences fluctuations in water pressure, installing a pressure regulator can be a game changer. This device helps maintain a steady water pressure, irrespective of external factors. Consult with a plumbing professional to determine the best fit for your system.
5. Check Your Water Softener
If you live in an area with hard water, a malfunctioning water softener can lead to mineral buildup that restricts water flow and pressure. Regular maintenance of your water softener—such as adding salt and ensuring it’s functioning correctly—can also stabilize pressure levels in your home.
6. Inspect Your Showerhead and Faucets
Sometimes low water pressure can stem from fixtures themselves, particularly if they are older or have not been cleaned regularly. Swapping out old showerheads and faucets for newer, high-efficiency models designed to optimize flow can greatly improve your water pressure experience. Look for products labeled with the WaterSense label, which indicates efficiency without sacrificing performance.
Enhancing Water Pressure for Specific Areas
While you can take several steps to improve general water pressure, specific areas may need targeted approaches. For instance, if your kitchen faucet is weaker than others, check the aerator for clogs. Similarly, if a particular bathroom struggles with low pressure, installing a dedicated line or booster pump might be necessary. Identifying these specific issues allows you to fine-tune your entire plumbing system for the best experience possible.
Conclusion
Maintaining optimal water pressure throughout your home is essential for a seamless and satisfying living experience. By following these strategies—conducting regular maintenance, monitoring for leaks, optimizing valves, utilizing water softeners, and upgrading your fixtures—you can ensure a steady flow of water where you need it most. With a bit of diligence, you can elevate your household’s water usage experience, making everyday tasks more enjoyable and stress-free. Always remember, a little proactive care goes a long way in keeping your plumbing robust and reliable!
What Should I Do If My Toilet Keeps Running?
It’s an all-too-familiar scenario: you walk into your bathroom and hear that incessant sound of water flowing, only to discover that your toilet has decided to take a permanent summer vacation! A running toilet not only can be an irritation but also contributes to unnecessary water waste. But don’t fret; the situation is often fixable with a bit of understanding and DIY spirit.
Identifying Common Causes
Before you can tackle the problem, you need to understand what might be causing your toilet to run. Common culprits include:
- Flapper Issues: The flapper is a rubber seal that controls the water flow from the tank to the bowl. If it’s worn out or doesn’t seal properly, water will continually leak into the bowl.
- Float Valve Malfunction: The float arm regulates the water level in the tank. If it’s stuck or improperly adjusted, it can prevent the toilet from shutting off.
- Chain Length: If the chain that connects the flapper to the flush handle is too loose or too tight, it can also cause problems.
What to Do When Your Toilet Begins to Run
If your toilet is running, follow these steps to diagnose and fix the problem:
- Check the Flapper: Remove the tank lid and inspect the flapper to ensure it seals properly. If it appears worn or is malfunctioning, replacing it is usually simple and can be done without any special tools.
- Adjust the Float: Ensure the float isn’t stuck. If it is, gently lift it to see if that stops the flow. You can also adjust its height so that the tank stops filling at the correct level.
- Inspect the Chain: Make sure the chain isn’t too tight or too loose. A properly adjusted chain should have a slight amount of slack when the flapper is closed.
Preventing Future Leaks
Now that you’ve tackled the immediate issue, it’s time to think proactively. Here are several ways to prevent future leaks and running toilets:
- Regular Maintenance: Periodically check the inner workings of your toilet, including the flapper and float, for signs of wear or damage.
- Replace Old Parts: If your toilet is more than a few years old, consider replacing components like the flapper and float assembly as a precaution. Many of these parts are inexpensive and easy to install.
- Flushing Behavior: Avoid flushing anything other than human waste and toilet paper to reduce wear on the flapper and other components.
When to Call a Professional Plumber
While many toilet issues are easy to fix on your own, some scenarios may require the expertise of a professional plumber:
- Persistent Problems: If you’ve replaced the flapper, adjusted the float, and still experience issues, it’s time to consult a professional.
- Water Supply Issues: Low water pressure or leaks that occur outside of the toilet tank can signal larger plumbing problems that may not be immediately apparent.
- Renovation Needs: If you’re planning more extensive work on your plumbing, a plumber can provide valuable insights into the best systems or fixtures for your home.
Conclusion
Tackling a running toilet may seem daunting, but with a little patience and know-how, you can easily identify the issue and take the necessary steps to fix it. By maintaining your toilet and being proactive about inspections, you can prevent running and leaking issues from interrupting your day-to-day life. And when in doubt, do not hesitate to reach out to a qualified professional who can provide the expertise needed to keep your plumbing running smoothly.
By adopting these essential DIY plumbing maintenance tips, you can prevent major issues and enjoy a stress-free living experience in your Blackbird, DE home. Keeping your plumbing robust and reliable doesn’t have to be a daunting task. In fact, these straightforward strategies can empower you not only to maintain water pressure but also to safeguard your plumbing system against unexpected surprises.
Routine Inspections: Your Best Friend
The first step towards effective plumbing maintenance is committing to routine inspections. A small investment of time can pay off with huge dividends. Make it a habit to inspect visible pipes for any signs of wear or water exposure. Look for rust, discoloration, or any damp spots that could indicate slow leaks. Catching these signs early can help you avoid larger problems down the line.
Embrace the Power of Cleaning
Cleaning your plumbing fixtures is more than just aesthetics; it’s about functionality. Regularly cleaning your faucets and showerheads can significantly improve their performance. Beyond just vinegar for mineral buildup, consider using a soft cloth with mild soap for the exterior and connections of your fixtures. A clean system not only looks good but works well, ensuring that water flows freely and efficiently.
Flush Out Your System
Over time, sediment and minerals can build up in your pipes, hindering water flow. Flushing your plumbing system is a simple yet effective way to maintain water pressure. Once a year, turn off the main water supply and open all faucets to let the water drain completely. Afterward, close the faucets and turn the main supply back on for a few moments to help flush out any debris that may have settled in your system.
The Importance of Knowing Your System
Becoming familiar with the layout of your plumbing system can be incredibly beneficial. Know where your shut-off valves are located and how to operate them in case of an emergency. This knowledge not only enhances your confidence in taking care of plumbing issues but also equips you to act quickly when required, saving you stress and potential damage escalation.
Educate Yourself on Eco-Friendly Solutions
In today’s world, sustainability is key. Consider implementing eco-friendly plumbing solutions to help streamline your consumption. Installing low-flow showerheads or faucet aerators can improve your water efficiency significantly without compromising pressure. Not only do these additions contribute positively to a greener environment, they help you maximize your resources at home.
Stay Alert for Seasonal Changes
Weather changes can have a significant impact on your plumbing system. In Blackbird, where temperatures can swing dramatically, it’s wise to pay attention during season transitions. As winter approaches, ensure that all outdoor hoses and faucets are properly drained to prevent freezing and bursting. Similarly, as the warmer months roll in, monitor for excess sediment that may emerge from increased water usage.
Your Plumbing Toolbox: Essential Tools and Supplies
Having a well-stocked toolbox can make all the difference in your DIY plumbing maintenance efforts. Keep items such as pipe wrenches, plungers, adjustable screws, and Teflon tape handy. With the right tools, you can quickly tackle minor adjustments and repairs without the hassle of delays, ensuring that your plumbing remains in excellent working order.
Conclusion
Your home in Blackbird, DE deserves the best care possible, and by embracing these DIY plumbing maintenance tips, you can create a more enjoyable, efficient, and stress-free living environment. From regular inspections and cleanings to being proactive about seasonality and water efficiency, you’ll cultivate a robust plumbing system that stands the test of time. Take charge of your plumbing, and enjoy the peace of mind that comes with knowing you’ve safeguarded your home!