
Keeping Your Home’s Plumbing in Top Shape
Hey there, Odessa homeowners! Have you ever dealt with a leaky faucet or a stubborn toilet? If so, you know how frustrating plumbing problems can be. But did you know that taking care of your plumbing can really make your home last longer and work better? Just like how you need to take your car for regular check-ups, your home deserves some TLC too—especially its plumbing system!
Why Plumbing Maintenance Matters
Let’s face it: plumbing issues can pop up when you least expect them. A tiny leak can turn into a huge mess, and a slow drain can bring your daily routines to a grinding halt. That’s why keeping an eye on your plumbing is super important. By catching small problems before they get out of hand, you can save yourself a lot of headaches down the road!
In this guide, we’ll share some easy, practical DIY fixes that every Odessa homeowner can tackle. Whether it’s fixing a leaky pipe or unclogging a stubborn drain, these tips will help you keep your home running smoothly. Trust us—you don’t need to be a plumbing expert to handle these tasks!
So grab your tools, roll up your sleeves, and let’s dive into the world of DIY plumbing. Together, we’ll make sure your home stays comfortable, functional, and problem-free.
Understanding Your Home’s Plumbing System
Before we get our hands dirty with some DIY plumbing battles, it’s essential to have a solid understanding of the basic structures that keep your home’s plumbing flowing smoothly. Knowing how your plumbing works empowers you as a homeowner and equips you with the knowledge you need to identify potential issues early—think of it as the plumbing equivalent of knowing your car’s engine under the hood!
The Basics: Key Components of Your Plumbing System
In every Odessa home, several fundamental components make up the plumbing system. Let’s break down these critical structures:
| Component | Function | Description |
|---|---|---|
| Pipes | Transport water | Pipes come in various sizes and materials, responsible for carrying both hot and cold water throughout your home, reaching kitchens and bathrooms. |
| Faucets | Control water flow | Faucets are the touchpoints for utilizing water—be it in the kitchen or bathroom. They can be simple to intricate, but common problems include leaks and low pressure. |
| Drains | Remove wastewater | Drains funnel used water away from sinks, showers, and toilets. Clogs can occur due to debris, hair, or grease, often leading to frustrating backups. |
| Valves | Control water flow | Valves control the water supply to various fixtures in your home. Knowing where your shut-off valves are located is vital in preventing extensive damage during emergencies. |
The Water Journey: From Main Supply to Fixtures
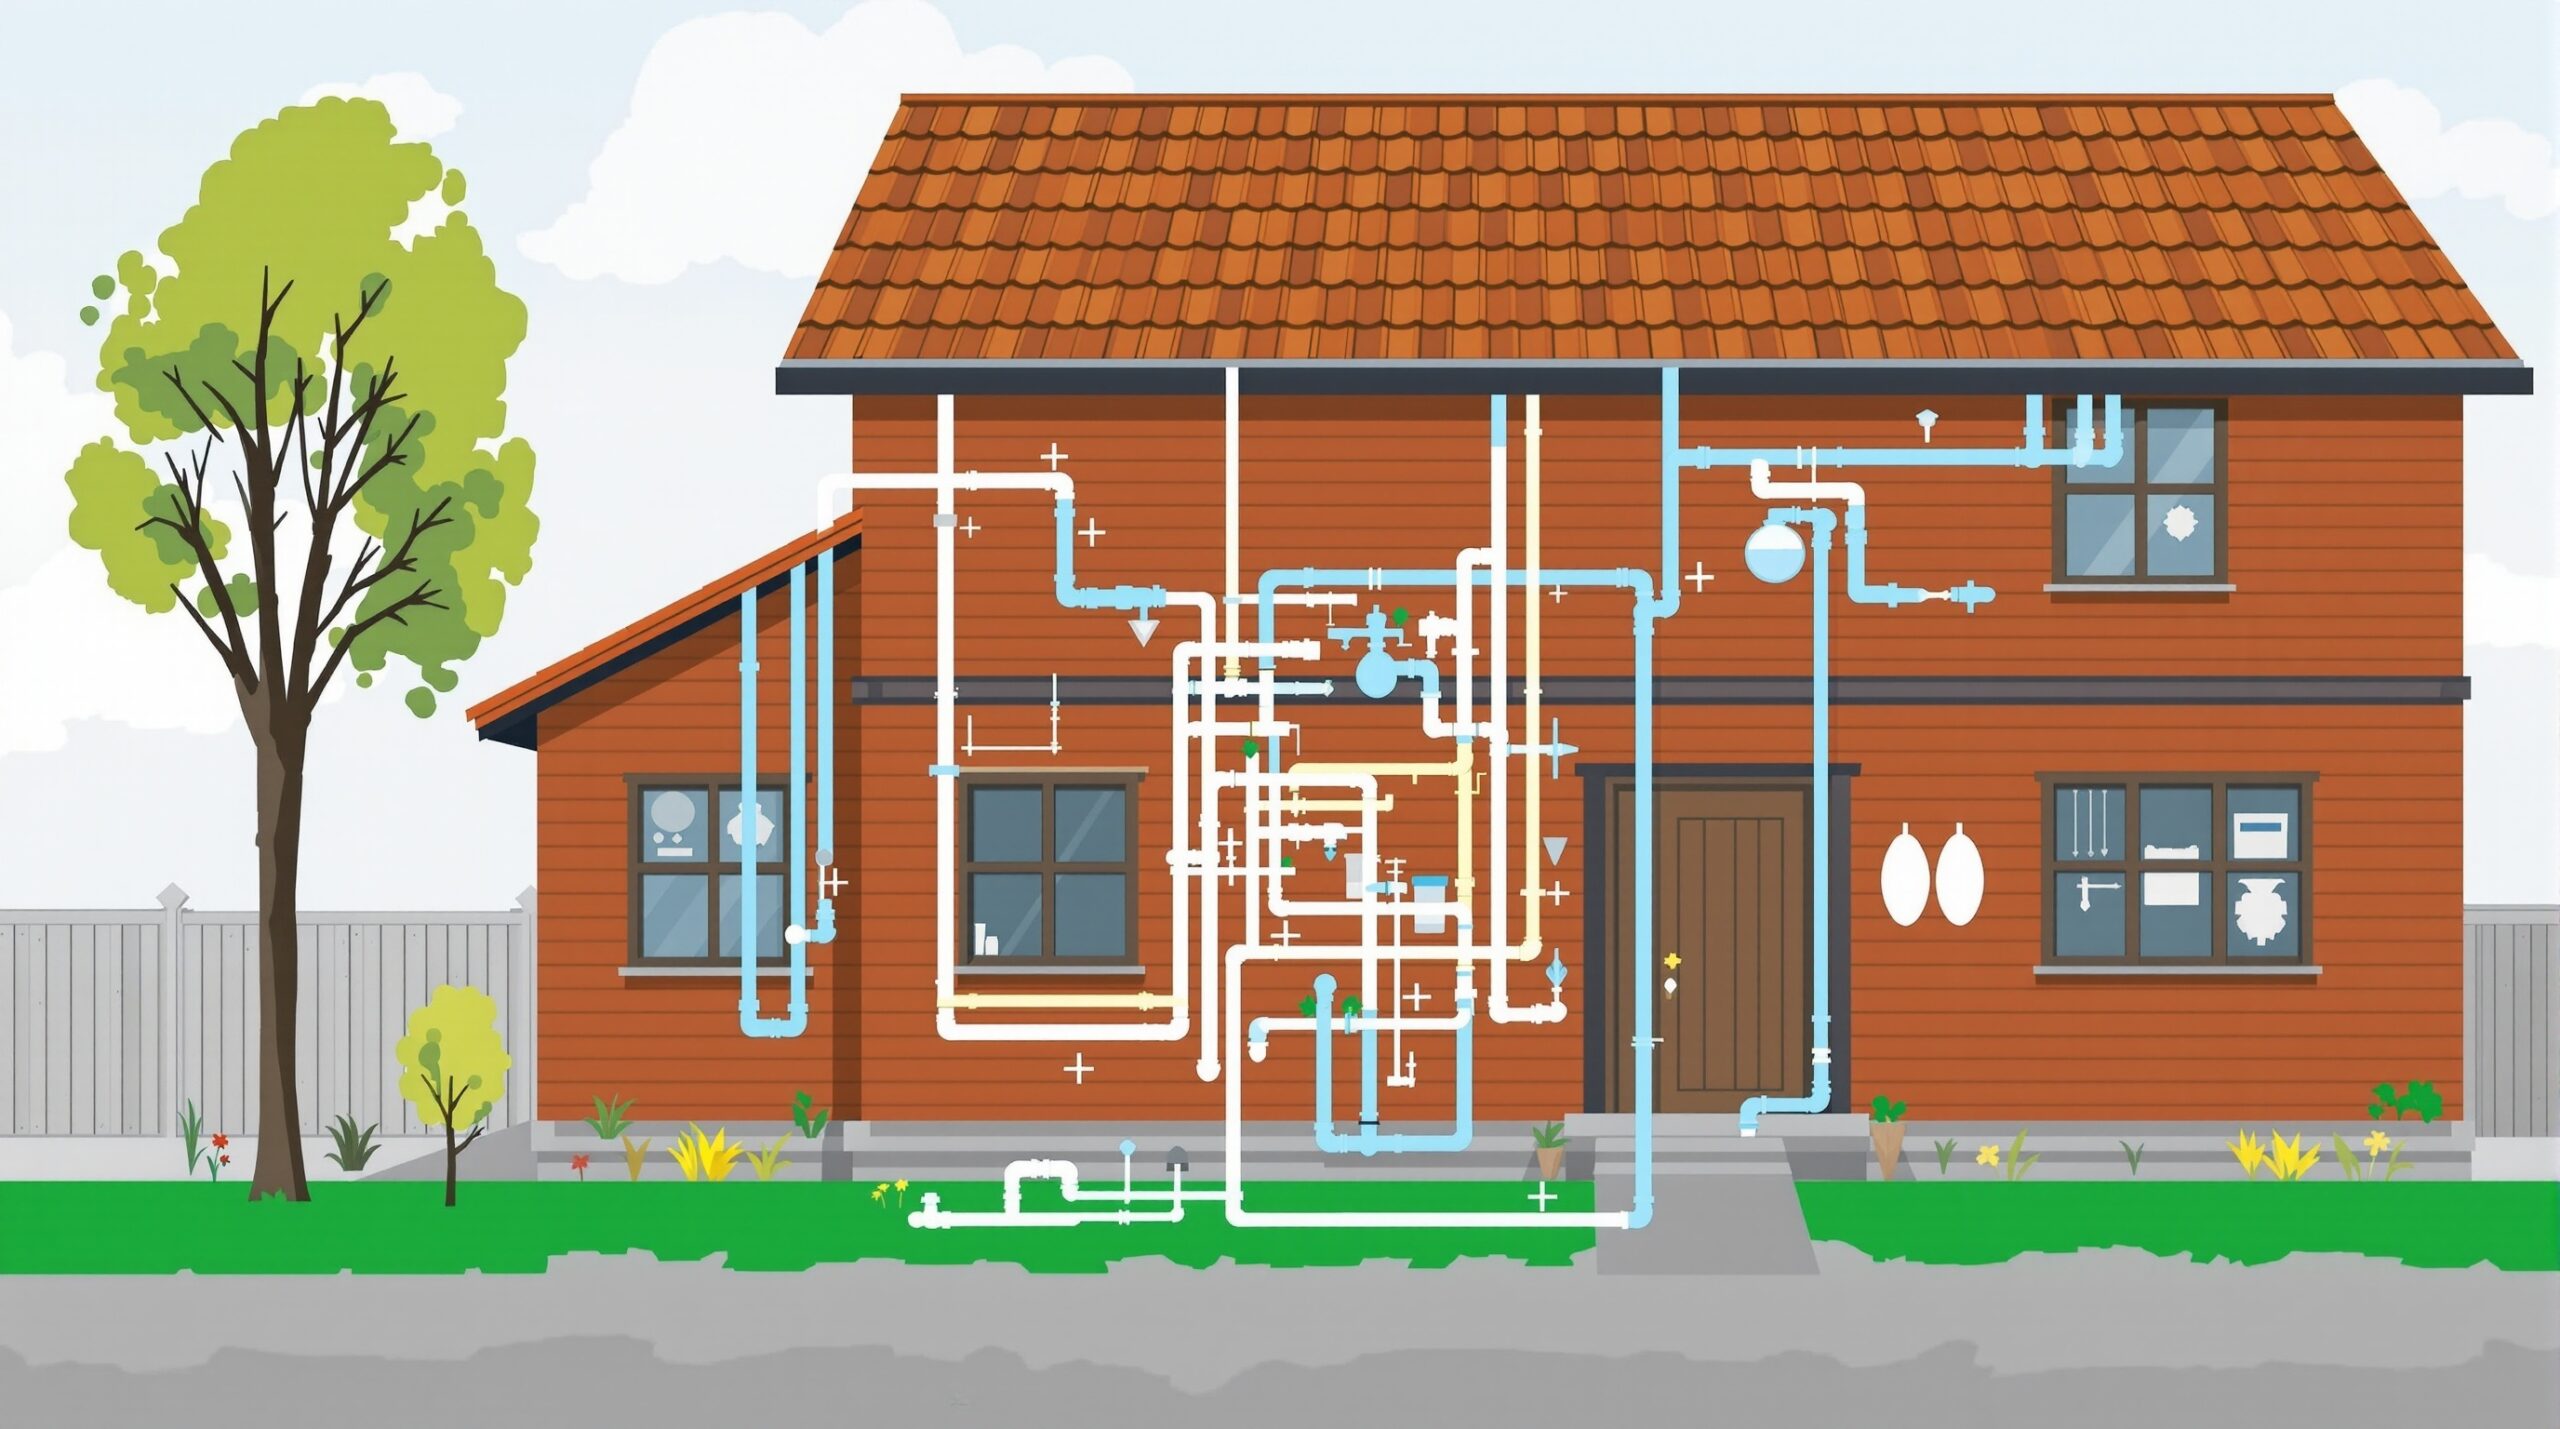
Understanding your plumbing system starts with knowing where the main water supply enters your home. This connection typically leads to a series of pipes branching off into your various plumbing fixtures—think of it as your home’s water highway. Every twist and turn in your plumbing infrastructure shapes how water travels to your faucets and drains.
Once the water leaves the main line, it arrives at your faucets where you can control the flow with the turn of a handle. The valves play a crucial role here, allowing you to shut off water flow whenever needed. It’s good practice to familiarize yourself with these valves—you never know when you might need to make a quick decision!
Why This Knowledge is Key
By understanding these basic components and their functions, you can better maintain your plumbing system. For instance, if you notice a drop in water pressure, you’ll know to check for blockages in your pipes or issues with the faucet. Recognizing the signs of wear and potential problems means you can take action before small issues escalate into major repairs. Knowledge is power, and when it comes to plumbing, it can save you from a world of trouble!
So, take a little time to familiarize yourself with your plumbing setup. It’s not just an invisible network of pipes—it’s the backbone of your home, ensuring comfort and convenience. And now that you’re equipped with this knowledge, you’ll be ready to tackle the next challenge: addressing leaky faucets. Trust us; you’ll want to stay tuned for that!
Addressing Leaky Faucets
Ah, the dreaded drip, drip, drip of a leaky faucet—a sound that can turn any peaceful evening into a frustrating experience. Not only does a leaky faucet waste water, but it can also drive up your water bills and disrupt that serene atmosphere at home. But fear not! With a bit of insight into identifying the causes of common faucet leaks and a handful of tools in your arsenal, you’ll be able to put an end to those incessant drips for good.
Identifying the Culprits: Common Causes of Faucet Leaks
Before we dive into the DIY solutions, let’s take a moment to pinpoint what might be causing the leaks in the first place. Understanding these issues can save you time and frustration during repairs. Here are the most prevalent causes:
- Worn Washers: Over time, the rubber washers located in the faucet’s handle can wear out. This is often the most common reason for leaks, resulting in water seeping through when the faucet is turned off.
- Faulty Cartridges: Cartridge faucets utilize a cartridge to control water flow. If this cartridge becomes damaged or worn out, it can lead to leaks. These usually require more than just a simple replacement of a washer.
- Corroded Valve Seats: If you notice water leaking from the spout, the valve seat may be corroded. This usually happens in older faucets where minerals deposit and erode the surface.
- Loose O-Rings: The O-rings are small rubber gaskets that help create a seal in cartridge faucets. If they become loose or damaged, it can lead to leaks.
The Tools You’ll Need
Before you get started on your repairs, gather the following tools to make the process smooth:
- Adjustable wrench
- Screwdriver (flathead or Phillips, depending on your faucet)
- Replacement washers or cartridges (specific to your faucet model)
- O-ring replacements (if necessary)
- Plumber’s grease (for lubrication)
How to Replace Washers or Cartridges
Now that you know what to look for and have your tools ready, let’s tackle the replacement process step-by-step. Whether you’re dealing with a worn washer or a faulty cartridge, the procedure is relatively straightforward—just follow these steps to restore your faucet to its drip-free glory!
Step 1: Turn Off the Water Supply
Your first step is to shut off the water supply to the faucet. Look for the shut-off valves beneath the sink, and turn them clockwise to close them. To ensure you’ve successfully stopped the water flow, turn on the faucet—nothing should come out!
Step 2: Remove the Faucet Handle
Next, you’ll need to remove the faucet handle. Look for a set screw—often located on the back or underneath the handle. Use your screwdriver to loosen this screw, and then gently pull the handle off. If it’s stuck, you may need to wiggle it a bit.
Step 3: Inspect and Replace the Washer or Cartridge
With the handle removed, you’ll have access to the internal components. If you’re replacing a washer, simply unscrew the retaining nut with your adjustable wrench, lift out the old washer, and replace it with a new one, ensuring it fits snugly. For cartridge faucets, pull out the old cartridge and replace it with the new one, making sure it’s aligned correctly. A little plumber’s grease on the new parts can help create a better seal and make installation easier.
Step 4: Reassemble the Faucet
Once you’ve made the necessary replacements, reverse the disassembly process. Carefully place the handle back, tightening the screw to secure it in place. Make sure everything feels snug and secure—no loose ends!
Step 5: Turn the Water Supply Back On
Now it’s time for the big test! Slowly turn the shut-off valves counterclockwise to restore the water supply. Turn on the faucet to check for leaks. If the drip has vanished, congratulations—you’ve just successfully tackled a leaky faucet!
Prevention is Key
Even the best DIY repairs can fall victim to time and wear. Regular maintenance can extend the life of your faucets and minimize leaks. Periodically check and replace old washers and cartridges, ensuring a tight seal. A little preventive care goes a long way toward keeping your plumbing system in tip-top shape!
With this handy guide in your toolkit, you’re ready to tackle leaky faucets like a pro. Now that you’ve conquered this challenge, you can confidently move on to dealing with clogged drains—a topic we’ll delve into next!
Clearing Clogged Drains
There are few household headaches quite as frustrating as clogged drains. Whether it’s a sluggish kitchen sink or a bathtub that threatens to turn into a mini swimming pool during your evening shower, these blockages can dampen your day. Thankfully, with some elbow grease and a few household staples, you can restore your drainage systems to their flowing glory. Let’s explore several effective methods for clearing those pesky clogs!
Plunging into Action
When most people think of tackling a blockage, the trusty plunger often comes to mind. It’s a straightforward yet powerful tool that can effectively dislodge stubborn clogs without the need for harsh chemicals. Here’s how to use it correctly:
- Get the Right Plunger: It’s important to use a cup plunger for sinks and bathtubs, as its shape creates a stronger seal. A flange plunger is ideal for toilets, but we’ll stick to sink and tub repairs for now.
- Prepare the Area: Clear the space around the drain to avoid any accidents. It’s wise to place a towel nearby, as water may overflow during plunging.
- Seal the Overflow Drain: If you’re plunging a sink or bathtub that has an overflow drain, use a wet rag to seal it off. This ensures that air doesn’t escape and provides maximum pressure.
- Plunge Away: Press the plunger down firmly but gradually to create a vacuum. Make sure to plunge up and down with a steady rhythm for 15 to 20 seconds. Check whether the water begins to drain—if not, repeat the process until the blockage clears.
The Power of Vinegar and Baking Soda
For those who prefer a non-mechanical and environmentally friendly approach, the powerful duo of vinegar and baking soda is your best friend. These common pantry staples can break down organic materials and eliminate unpleasant odors. Here’s the step-by-step:
- Pour Baking Soda: Start by pouring about half a cup of baking soda directly into the clogged drain.
- Add Vinegar: Follow up with half a cup of vinegar. You’ll notice it fizzing as it interacts with the baking soda—this is where the magic happens!
- Cover the Drain: If possible, cover the drain with a cloth or a stopper to keep the reaction focused in the pipe.
- Wait It Out: Allow the mixture to sit for 15 to 30 minutes. During this time, the combination will work to break down the clog.
- Flush with Hot Water: After the waiting period, flush the drain with hot water (not boiling) to help clear away any remnants of debris.
Incorporating a Snake Tool for Stubborn Clogs
For clogs that resist both plunging and the vinegar-and-baking-soda remedy, a drain snake might be necessary. This handy tool is excellent for dislodging tougher blockages deep within the pipes. Here’s how to use it:
- Choose Your Snake: A manual drain snake works well for home use. If you’re dealing with particularly difficult clogs, there are electric snakes available.
- Insert the Snake: Carefully insert the end of the snake into the drain until you feel resistance from the clog.
- Twist and Push: Crank the snake handle while gently pushing into the blockage. This twisting motion helps break apart the clog so it can be pushed through or pulled back out.
- Pull and Clean: Once you think you’ve dislodged the clog, carefully pull the snake out. You may find it covered in hair, food particles, or other debris, so be prepared for a bit of cleanup!
Preventative Measures for Clogs
After successfully clearing your drains, take a moment to consider long-term preventative measures to avoid recurrent blockages:
- Use Drain Strainers: Invest in strainers for your sinks and tubs. These will catch hair, soap scum, and food particles, preventing them from washing down the drain.
- Regular Maintenance: Periodically flush your drains with hot water, and consider the vinegar-and-baking-soda method as a preventive measure.
- Avoid Grease Dumping: In kitchens, avoid pouring grease down the drain, as it can solidify and create stubborn clogs.
Armed with these methods, you’re now fully equipped to clear those troublesome clogs and keep your drains flowing freely. With just a bit of effort and the right techniques, you’ll be saying goodbye to clogged sinks and bathtubs in no time. Now, let’s move on to another household challenge—fixing toilets that won’t stop running!
Fixing Toilets That Won’t Stop Running
There’s nothing quite as annoying as the incessant sound of water trickling away, especially when it’s your toilet continuously running. Not only can this lead to higher water bills, but it’s a clear sign that something isn’t quite right. Fortunately, most running toilets can be fixed with a bit of understanding and a few simple steps. Let’s dive into the common causes and how you can effectively troubleshoot and resolve this common household issue.
Understanding the Causes
The mechanics of a toilet are relatively simple, but a few components can lead to a running toilet if they become faulty or misaligned. Here’s a breakdown of the primary culprits:
| Cause | Description |
|---|---|
| Faulty Flapper | The flapper is a rubber valve that opens and closes to allow water to flow from the tank into the bowl. If it’s worn out or not sealing properly, it can cause water to leak into the bowl continuously. |
| Float Adjustment | The float controls the water level in the tank. If it’s set too high, water can overflow into the overflow tube, creating a constant flow. Adjusting it may solve the issue. |
| Chain Issues | The chain connecting the flapper to the flush lever may be too tight or too loose, preventing a proper seal. Ensuring the correct tension can fix the running issue. |
| Overflow Tube | If the water level in the tank is too high, it may spill into the overflow tube, causing a constant flow of water. Adjusting the float can help control this. |
Steps to Fix the Problem
Once you’ve identified the possible cause, it’s time to take action. Here’s how to adjust the floater or replace the flapper step-by-step:
Adjusting the Floater
- Turn Off the Water Supply: Before you start any repair work on your toilet, ensure the water supply is turned off by locating the shutoff valve behind the toilet.
- Remove the Tank Lid: Carefully take off the lid of the toilet tank and set it aside in a safe place.
- Adjust the Float: Locate the float and either bend the arm or adjust the screw (depending on the type of float) to lower the water level in the tank, ensuring it stays below the overflow tube.
- Test the Toilet: Turn the water supply back on, allow the tank to fill, and flush to see if the issue persists.
Replacing the Flapper
- Remove the Old Flapper: Unhook the existing flapper from the overflow tube and disconnect the chain from the flush lever.
- Install the New Flapper: Place the new flapper over the opening at the bottom of the tank and hook the chain back onto the flush lever, ensuring there’s slight slack.
- Test for Leaks: Turn the water supply back on and let the tank fill. Check for any leaks, and make sure the flapper is sealing properly when the tank is full.
Preventative Maintenance Tips
Preventing a running toilet is often much easier than fixing one! Regular checks and maintenance can save you from the hassle down the line. Here are some key tips:
- Inspect Your Flapper: Regularly check the flapper for wear and tear. The average lifespan is about 3-5 years, so replacing it proactively can prevent leaks.
- Clean the Components: Mineral deposits can build up on the flapper and valves. Occasionally cleaning these parts can enhance their functionality.
- Check the Chain: Ensure the chain has the right amount of slack. If it’s too tight or too loose, it might not function properly.
- Monitor Water Levels: Keep an eye on the water levels in the toilet tank. Adjust them if necessary to avoid overflow issues.
By understanding how your toilet operates and following these simple maintenance steps, you can prevent running toilets and enjoy a peaceful, quiet home. Remember, a little regular care goes a long way in maintaining the smooth operation of your plumbing system!
Preventative Maintenance Tips: Key Checks and Activities
Just as it’s vital to keep your home’s systems running smoothly, regular maintenance checks can save time and eliminate potential headaches in the long run. By prioritizing preventative maintenance, homeowners can ensure that their plumbing system remains in peak condition. Here are essential tips for maintaining your plumbing, focusing on simple yet effective tasks you can do yourself:
- Inspect Pipes for Rust: Regularly inspect visible pipes, especially those in under-sink cabinets, basements, or crawlspaces. Look for signs of rust or corrosion, which can indicate leaks or potential failure. A simple visual check can help you catch any issues before they evolve into significant problems.
- Clean Aerators: Over time, mineral deposits can clog faucet aerators, reducing water flow and pressure. To clean, simply unscrew the aerator, soak it in vinegar to dissolve any buildup, and rinse it thoroughly before reinstalling. This minor maintenance task can greatly enhance your water efficiency.
- Monitor Drainage: A slow drain can signal issues lurking in your plumbing. Periodically check your sinks, tubs, and showers for drainage speed. If you notice that the water doesn’t go down as it should, consider using a mix of baking soda and vinegar as a natural cleaner to help clear minor blockages.
- Check for Leaks: Periodically check under sinks and around toilets for any signs of leaks. A wet spot or water pooling can be a warning sign that needs immediate attention. Fixing small leaks promptly can prevent larger issues and improve overall efficiency.
- Seasonal Preparations: As the seasons change, so do the demands on your plumbing. In winter, insulate pipes to prevent freezing, while spring brings the perfect opportunity to flush out your water heater and clear gutters. Seasonal checks help prepare your home for any environmental changes that may impact your plumbing.
By integrating these regular maintenance activities into your home care routine, you can enhance the durability of your plumbing systems while avoiding unnecessary complications. A strong upkeep habit not only keeps your home in top shape but also fosters peace of mind as you enjoy a reliable plumbing infrastructure. Remember, an ounce of prevention is worth a pound of cure – keep your home running smoothly with these straightforward steps!
However, maintaining your plumbing system goes beyond routine checks; it’s about recognizing the signs of trouble before they escalate into major repairs. In Odessa homes, certain indicators can alert you to potential plumbing problems that need your attention:
- Unpleasant Odors: A foul smell coming from your drains or plumbing fixtures could indicate a blockage, sewer backup, or a broken seal. These odors are often a sign that the plumbing system is not functioning as it should and may need immediate investigation.
- Changes in Water Pressure: If you notice significant drops in water pressure or fluctuations while using taps or showerheads, it could point to hidden leaks or problems with the water supply line, warranting prompt attention.
- Water Stains: Discoloration on walls, ceilings, or floors can indicate leaky pipes or fixtures. Keep an eye out for these signs, especially in areas near toilets, sinks, or water heaters.
- Frequent Clogs: If your drains are clogging more frequently than normal, it could suggest a larger issue in the plumbing system. Frequent clogs can signify tree root intrusion, mineral buildup, or other blockages that may require professional evaluation.
- High Water Bills: An unexpected spike in your water bill can be a signal of underlying plumbing issues, such as leaks or running toilets, that you may need to address promptly.
To maintain the health of your plumbing system in Odessa, it’s advisable to conduct plumbing checks at least twice a year. Seasonal changes can impact your plumbing’s performance, and being proactive can help you spot concerns before they become major issues. Spring and fall are ideal times for these checks, allowing you to prepare your home for the demands of changing weather.
In addition to being aware of signs and performing regular checks, it’s beneficial for homeowners to assemble a basic toolkit that facilitates routine plumbing maintenance tasks. Here are essential tools you might consider having on hand:
- Plumber’s Tape: Useful for sealing joints and preventing leaks in threaded plumbing connections.
- Pipe Wrench: Ideal for gripping and turning pipes, ensuring secure fittings.
- Plunger: A must-have for tackling minor clogs in sinks and toilets, a good-quality plunger can clear blockages effectively.
- Drain Snake: Perfect for addressing stubborn clogs that a plunger may not handle, a flexible drain snake can help you reach deeper blockages.
- Utility Knife: Handy for cutting through pipe insulation or other materials during repairs and maintenance tasks.
Beyond maintenance and inspections, improving the water efficiency of your plumbing system is crucial for conserving resources and lowering utility usage. Here are some strategies Odessa homeowners can implement:
- Install Water-Saving Fixtures: Consider replacing old faucets, showerheads, and toilets with modern water-efficient models that provide the same functionality while using less water.
- Fix Dripping Faucets: A leaky faucet might seem minor, but it can waste significant water over time. Make it a point to address any drip as soon as possible.
- Educate on Efficient Usage: Encourage family members to turn off the tap while brushing teeth or washing hands to save water. Simple behavioral changes can lead to substantial savings.
- Incorporate Greywater Systems: Where local regulations allow, consider a greywater system that reuses water from showers and sinks for irrigation purposes, boosting your home’s sustainability.
By undertaking these DIY approaches, homeowners in Odessa can sustain their plumbing systems and avert costly repairs. Dive into these solutions and maintain the integrity and function of your plumbing effortlessly. With vigilance and commitment to maintenance, your home can remain a comfortable oasis, safeguarded from unexpected plumbing issues.
DIY Approaches to Sustain Plumbing Systems in Odessa, DE
By taking the initiative to regularly engage in these DIY approaches, homeowners in Odessa, DE, not only protect their plumbing systems but also cultivate a sense of empowerment over their living environment. Reliable plumbing isn’t just about functionality; it’s about creating a sanctuary in your home. When you take on these proactive measures, you ensure the integrity and function of your plumbing, making it an effortless aspect of your daily life. Let’s delve deeper into some practical, hands-on solutions that focus on enhancing your plumbing system over time.
- Examine Water Pressure: Fluctuations in water pressure can signify deeper plumbing issues. Once a month, check different faucets throughout your home during peak usage times. If you find any notable variations, it may be time to consider a more in-depth investigation of your plumbing, adjusting your habits as needed, or even seeking professional advice for a comprehensive assessment.
- Test the Water Heater: Water heaters often go unnoticed until they cause an inconvenience. Conduct a maintenance check every few months by adjusting the temperature setting to a safe level, flushing the tank to remove sediment, and checking for leakage. Ensuring your water heater is functioning well can significantly extend its lifespan and efficiency.
- Maintain Garbage Disposals: A poorly maintained garbage disposal can lead to unpleasant odors and blockages. Regularly clean and grind small pieces of ice along with citrus peels to keep it fresh and functional. This simple practice helps maintain your unit and promotes a more hygienic kitchen environment.
- Know Your Main Water Shut-off Valve: Familiarize yourself with the location and operation of your main water shut-off valve. In the event of a plumbing emergency, rapid action can minimize damage, and knowing how to turn off the water supply can significantly speed up the response time.
- Utilize Smart Technology: Embrace technology by investing in smart water leak detectors or automatic shut-off systems. These devices can alert you to potential leaks before they become significant issues, granting you peace of mind at home while allowing you to manage your plumbing with ease.
By diving into these practical DIY solutions, homeowners in Odessa can not only maintain the integrity and function of their plumbing systems but also create a proactive approach to home improvement. Each step, no matter how small, contributes to a larger picture of sustainability and reliability in your home. The beauty of these practices lies in their simplicity and the immediate impact they can have on your living space. Embrace the art of DIY maintenance and transform your plumbing care into a seamless, effortless routine. After all, a well-functioning plumbing system is an essential cornerstone of a happy home.